
As advertised, there were new experiences this week. A few weeks ago, a message came through on one of my science education lists about a workshop in Boulder on 3-D/4-D printing. I was still looking for professional development hours to renew my teaching license, and though I had heard of 3-D printing, I knew next to nothing about it. The workshop cost only $60 for three days (!), provided exactly the 21 hours of PD I still needed, and was located less than a mile from the home of Maureen’s brother and sister-in-law. It seemed almost too good to be true, so I signed up.
Fast forward to Monday of this week. I walked the 20 minutes to the University of Colorado, Boulder’s east campus and found the LEED-Platinum certified Jennie Smoly Caruthers Biotechnology building. I met instructor Eric Carpenter and my four classmates and we got started. First up was an introduction/review of engineering design and its importance for our students. We watched a fun little video, NASA for Kids: Intro to Engineering, which highlighted the thinking in engineering design processes.
A couple of resources related to the week’s programming (and the rest of what CU Science Discovery does in engineering education) were noted: the National Academy of Engineering’s report Changing the Conversation: Messages for Improving Public Understanding of Engineering and TeachEngineering.org. One of my favorite points from this morning’s instruction was the idea that the engineering design process often starts with an opportunity rather than a problem. Given that, the general process can be conceptualized as the following:
- Define the Opportunity
- Research
- Develop Solutions
- Choose a Solution to Develop
- Create a Prototype
- Test the Solution/Prototype
- Communicate the Results
- Repeat all of the above (as many times as required) to improve the solution.
We spent the rest of the morning exploring “Photo Origami.” I have to admit that when I heard that term, I thought about photographs being folded into intricate shapes and didn’t quite understand what that had to do with 3-D printing. It turns out that Photo Origami refers to the process of bending and folding photo-active polymers with light. And those photo-active polymers are–Shrinky Dinks! Given that they are light-activated, it’s not too surprising that the color of the plastic makes a difference. Here’s the apparatus used for applying heat/light.

And the results of treating 1-cm squares of dark- and light-colored polymers.

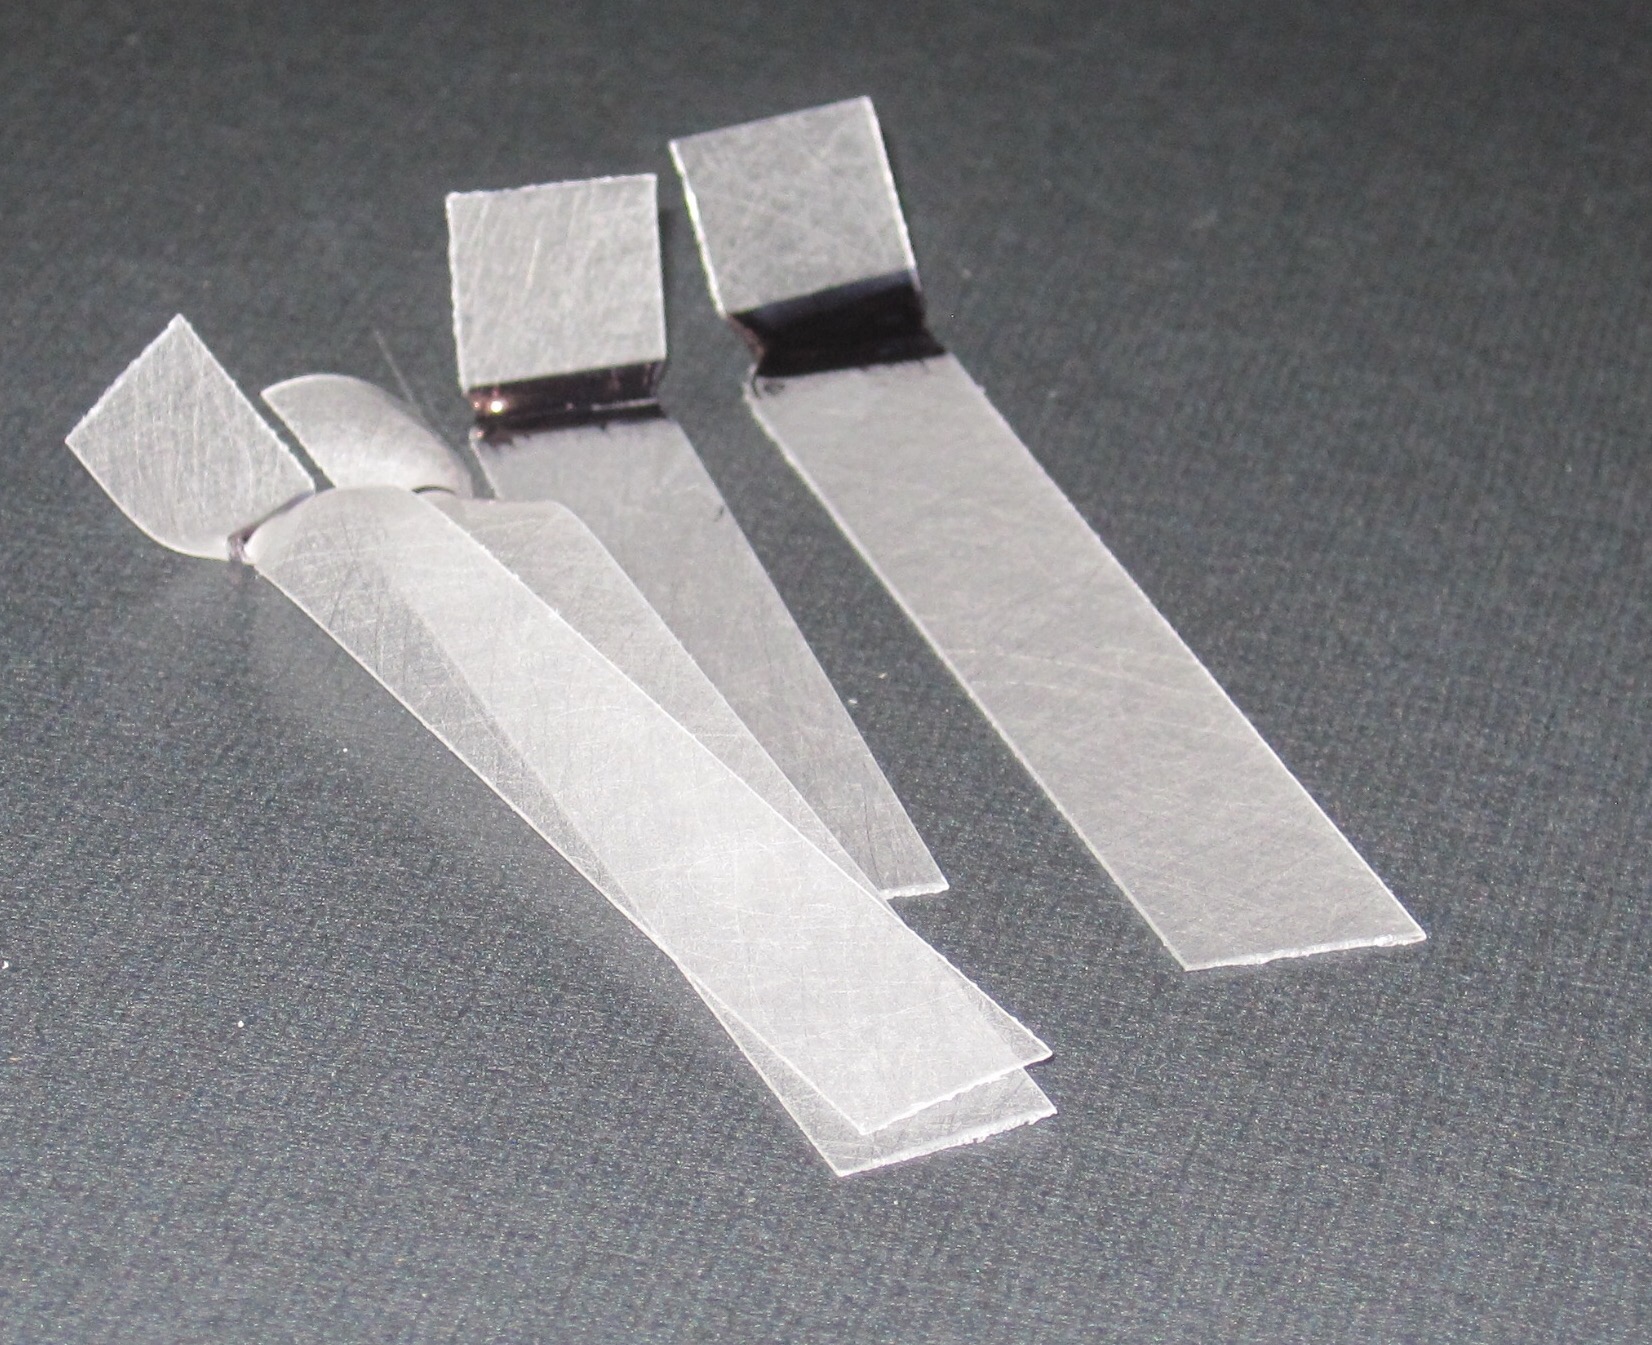
We spent some time drawing lines on polymer strips with Sharpies and investigating the role of color and line thickness. I won’t spoil the experiment for you, but if you only have black Sharpies, it won’t be a problem. Here are some of the results.

The next step was to try to construct a 3-D shape by folding with light.

The shape pre-treatment.
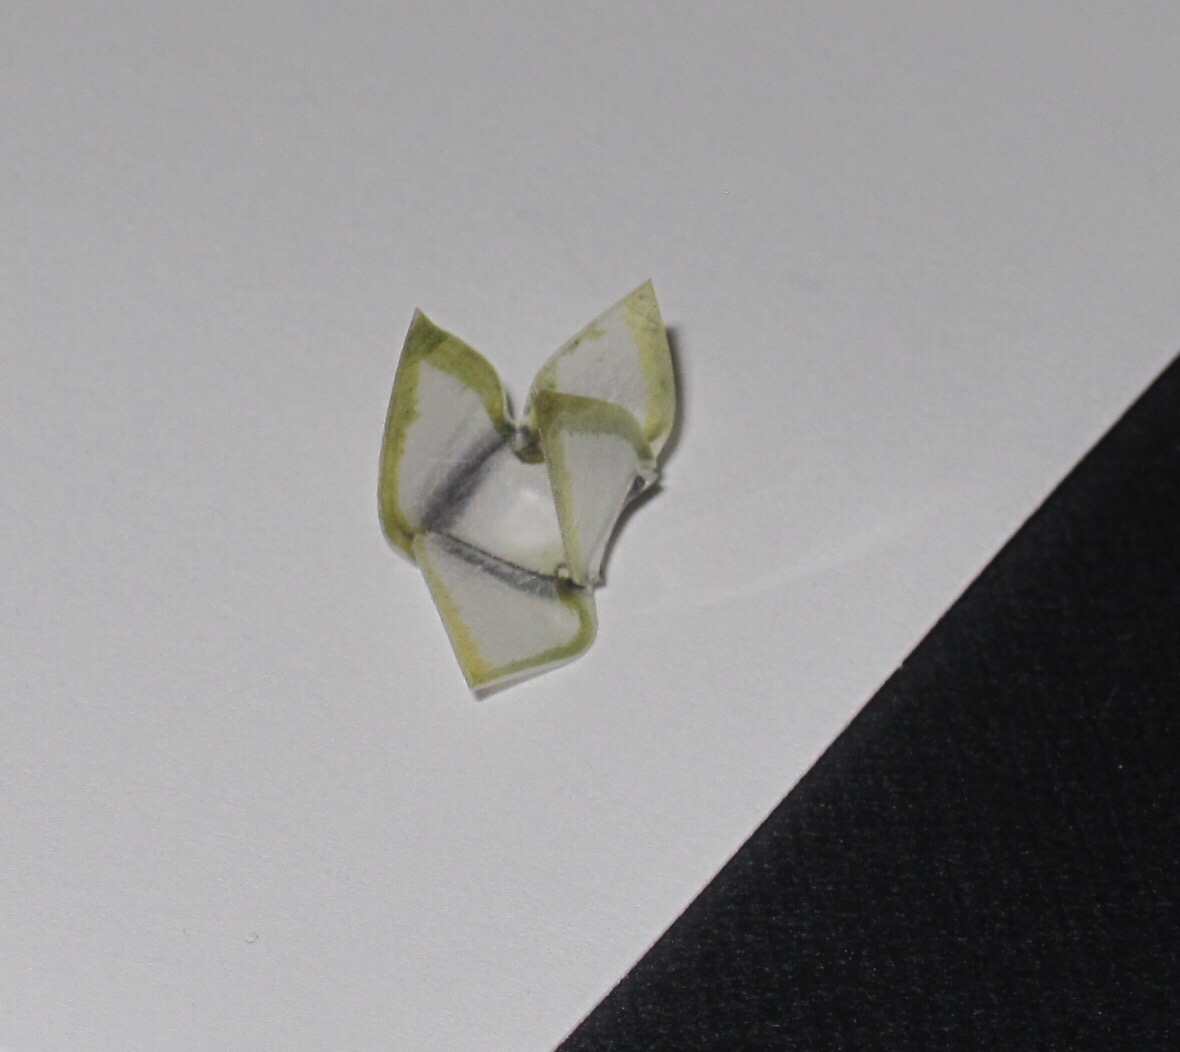
A failed attempt.
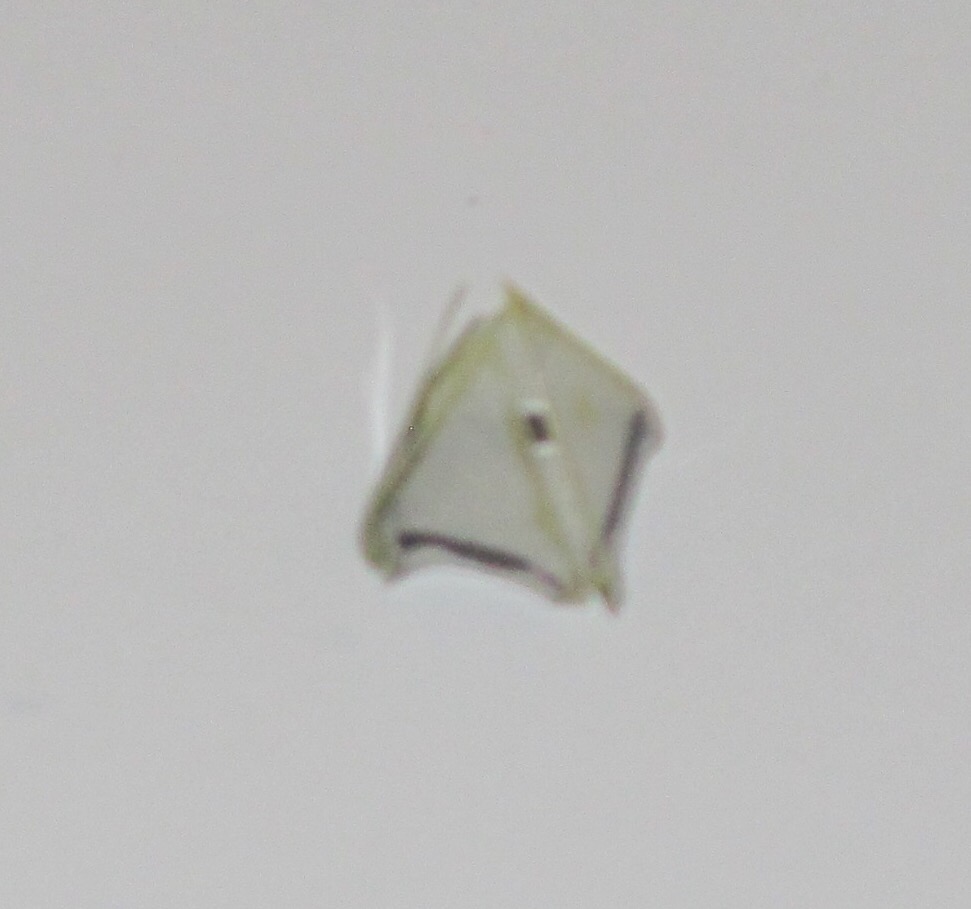
A better (but fuzzy) attempt.
After a break for lunch (there’s an Etai’s on the first floor, so mine was accompanied by Bhakti chai), we moved into the 3-D printing portion of the course. The program we used for 3-D drawing was SketchUp, formerly Google SketchUp. You can download it for free here, and K-12 educators can get a pro license for free as well.
We received some basic instruction on the program, then commenced our first design task, a 3-D-printed nameplate. This was a nice way to learn to use the software and resulted in a fun souvenir.

Late on this day, we learned about our next design challenge. We needed to create a container that would catch a ball bearing that was rolling down a ramp, then transport it to a magnet mounted on a board 10 cm away. I have to admit that I was intimidated by this challenge. Fortunately, our instructor emphasized that we were developing prototypes, so that helped take the edge off the performance anxiety.
On Day 2 we started with learning a little about the “nuts and bolts” of 3-D printing. Essentially, one starts by creating a CAD (computer-aided design) drawing using a 3-D capable program, such as SketchUp, AutoCAD, SolidWorks, or Tinkercad. This drawing must then be converted into a stereolithograph or .stl file. Next the image is sliced into layers (virtually) and converted to G-code. G-code is a programming language that is used to control robots and, not coincidentally, 3-D printers. Individual programs do each of these steps. We used Cura, which does the final step and also controls the Lulzbot printers we used.

We had some time for group collaboration on the design challenge, then we split up to do some “Sketching-Up.” Everyone had a slightly different approach. While our prototypes were printing, we learned a bit about the materials used for 3-D printing. The most common are PLA (polylactic acid) and ABS (Acrylonitrile Butadiene Styrene). PLA is more brittle and is susceptible to moisture, but it does not give off irritating fumes, so it is a better choice for classroom applications. A good comparison of the two materials can be found here. 3-D printing has also been used for metals (such as jewelry and bike parts), biological materials (think ears), and even houses! The printers for those houses operate using essentially shipyard cranes to control the position of the print head.
We spent the rest of the day testing our prototypes (everyone was at least partially successful). Here’s what I made.

It needed some modifications (i.e. It did not work consistently), but I ran out of time for another attempt.
Finally, we were introduced to our next challenge: printing something that moves. Yes, that could be a robot, but it could also be a box with a hinge.
Day 3 dawned snowy. Many inches of snowy. I got up and started getting ready for class, only to learn that campus was closed and we would be unable to meet for the workshop. Gamely, our instructor postponed day three’s meeting until Thursday, and provided some alternatives for completing the course. I knew I could not stay all day Thursday, so I spent most of the snow day preparing my final design. Rebbe and Koli helped.

On Thursday morning Boulder was still pretty snowed in, so campus opening was delayed until 10 a.m. (it was Spring Break for students anyway), further decreasing my available attendance time. Fortunately, I was able to print a quick version of my clamp/gripper design. This is what it looks like when it comes off the printer.
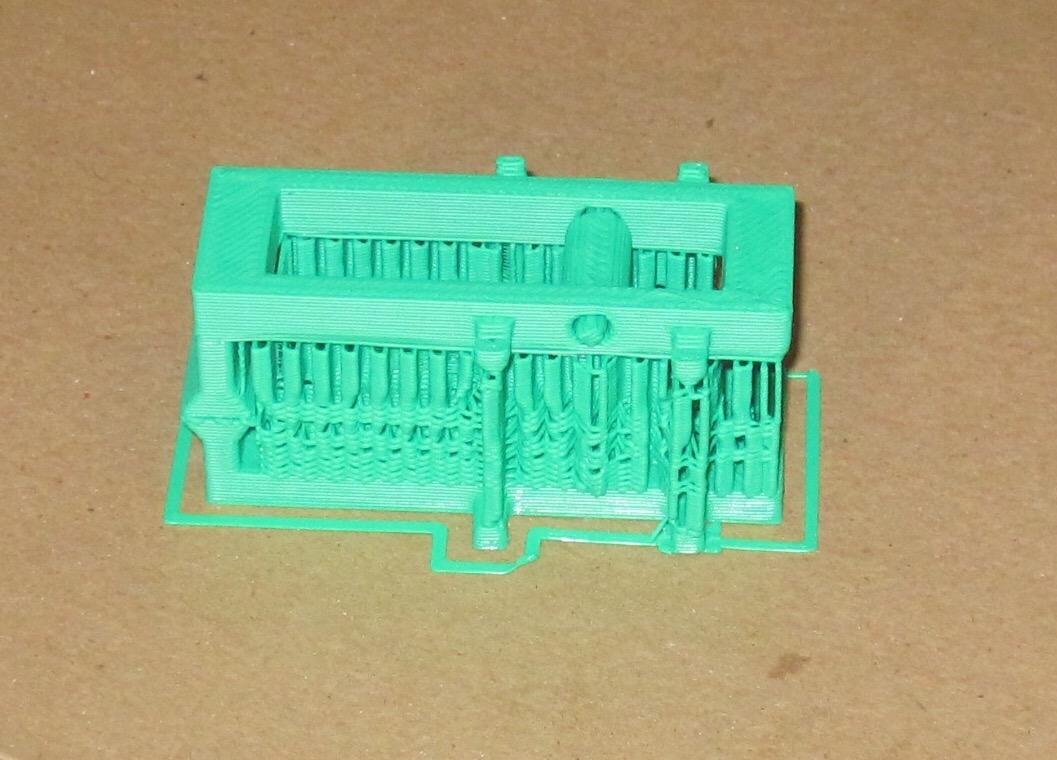
All of the webby stuff in the middle is fill material, which keeps the object from collapsing as it is printed with layers of molten plastic. It is designed to be (fairly) easily pulled away with pliers.
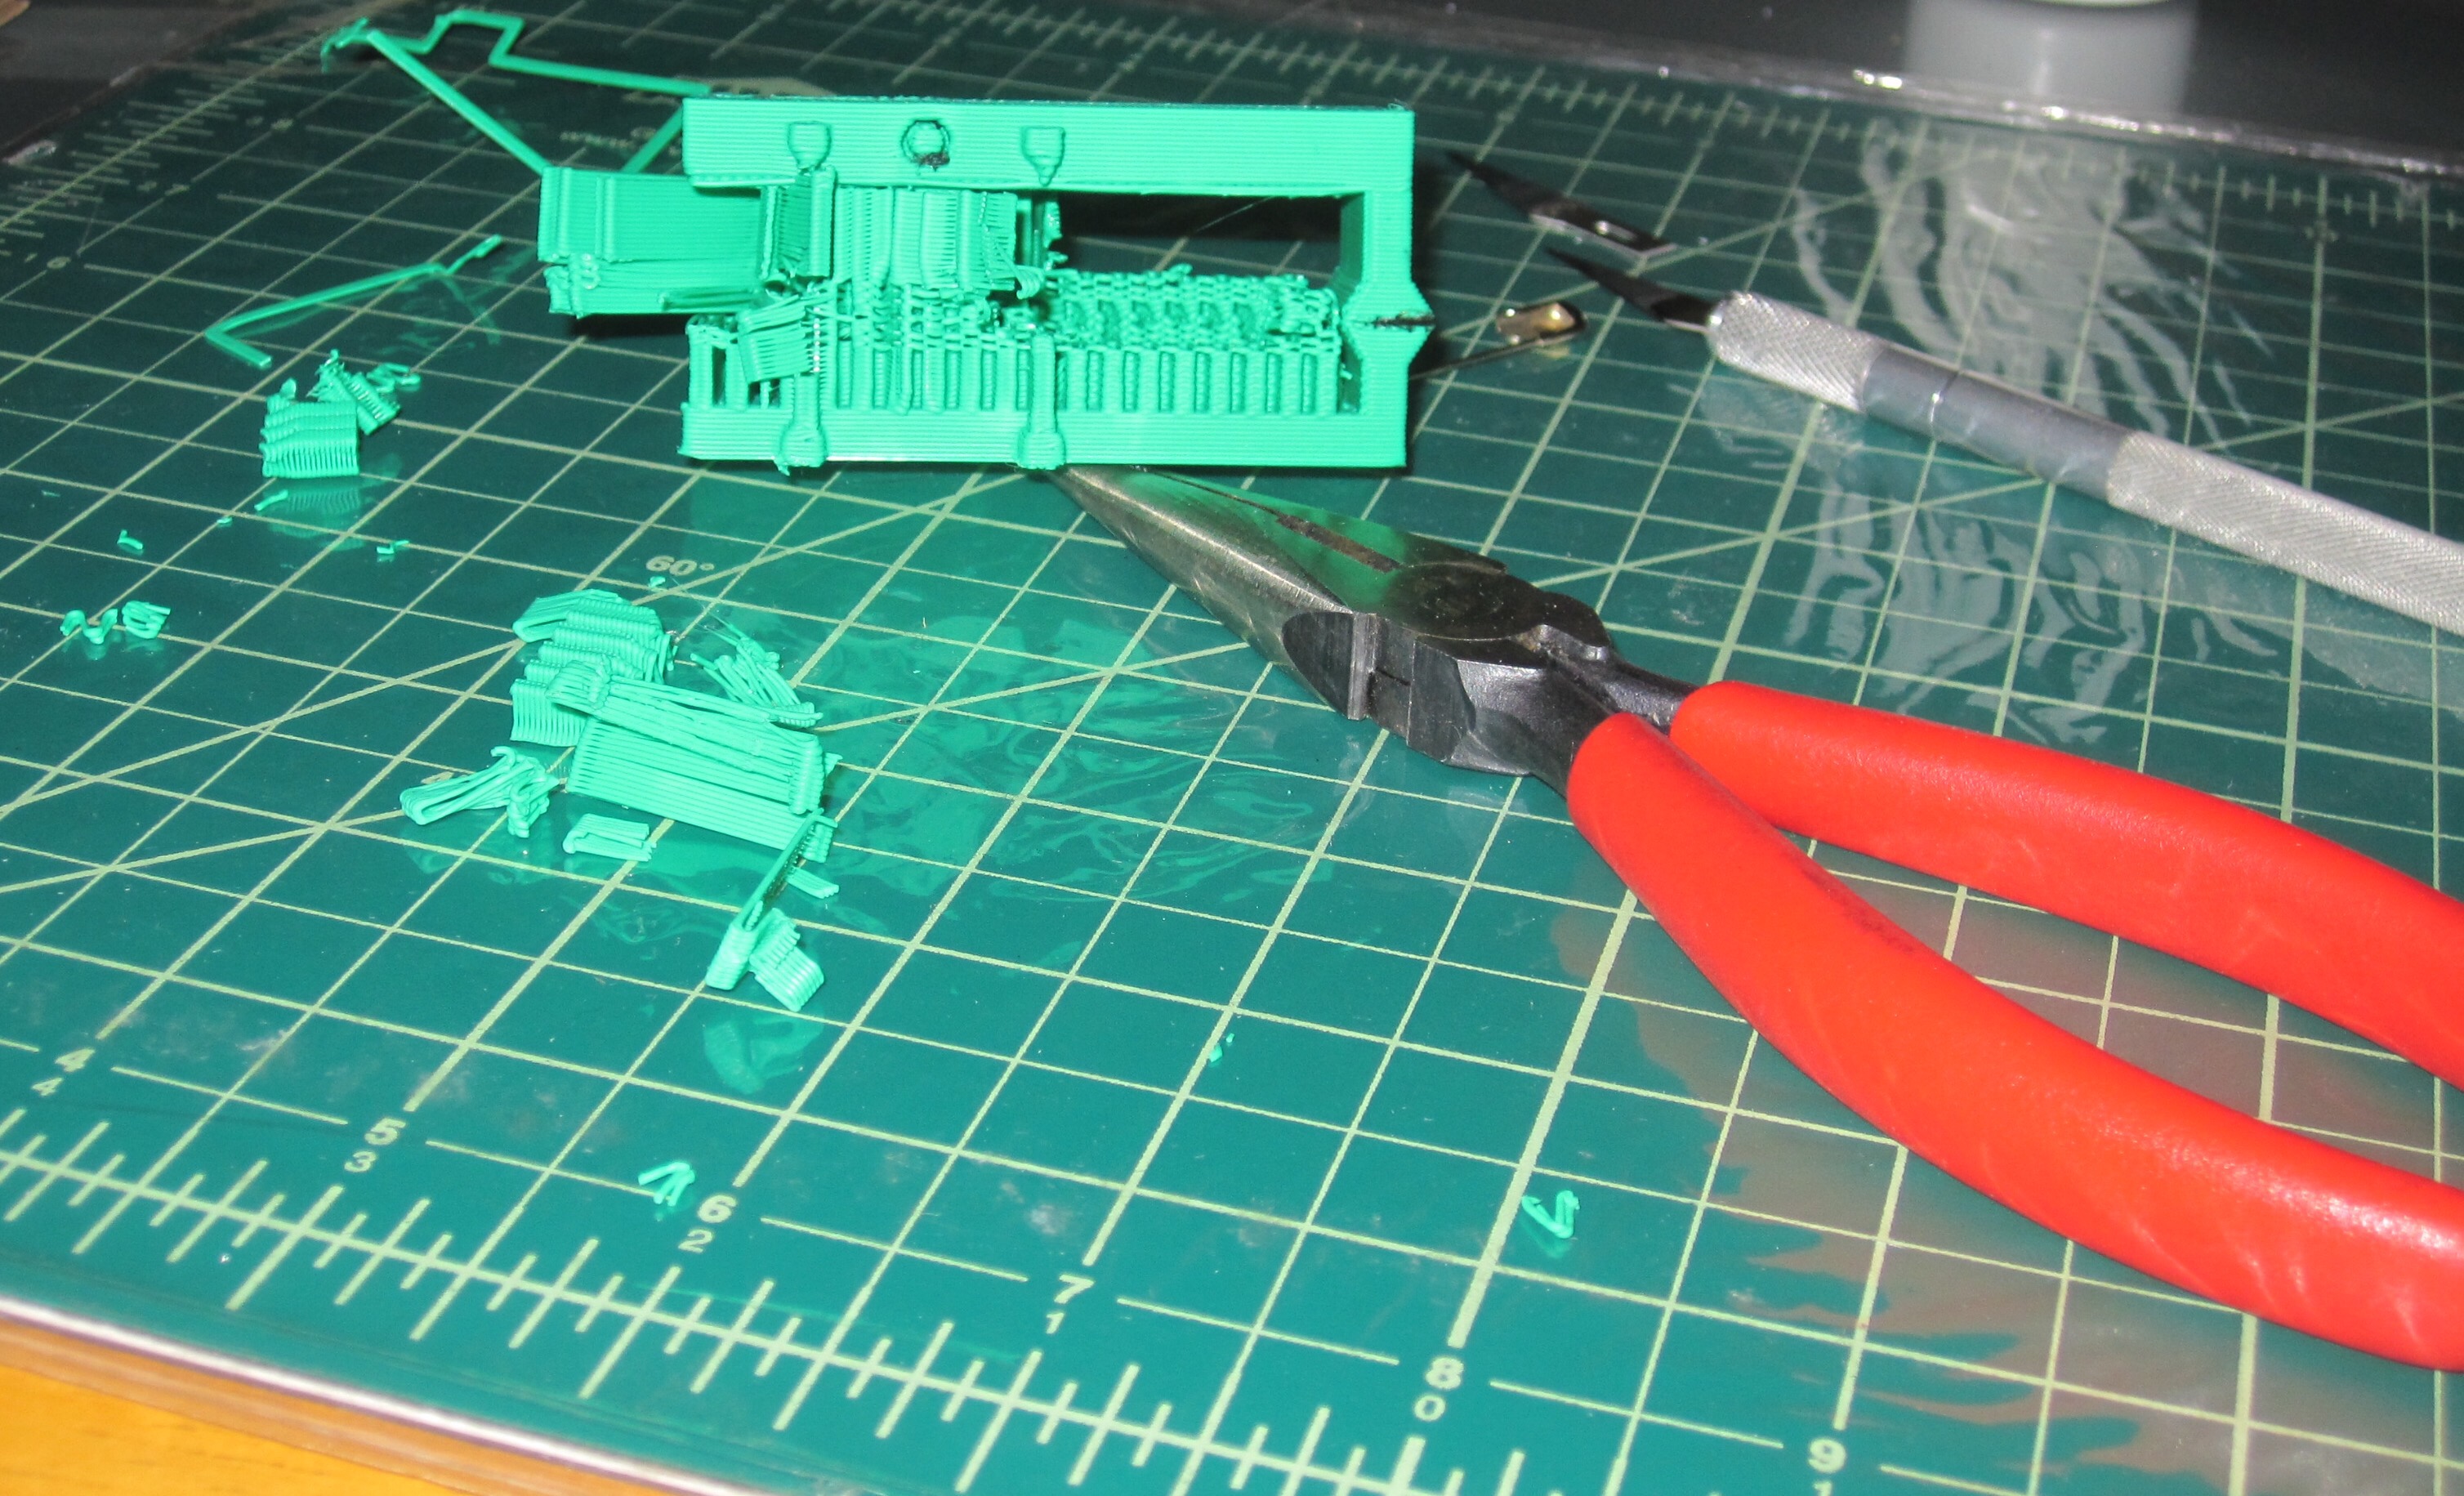
After some more pulling with pliers (the small Craftsman set came in handy here) and a bit of work with a candle-warmed X-Acto blade, the prototype was mobile.

So, you might be asking, where does the 4th dimension come in? Well, this final design had to move, and you may remember that we used some photo-sensitive polymers earlier in this learning experience. 4-D printing refers to the creation of objects that transform over time. In our case, this means manipulating the photo-polymers (with light) to make the printed object move.
I hooked my prototype up with some rubber bands and photo-polymers, but my house does not have the fancy contraption we used in class to activate the polymers.

I tried a couple alternative activation methods, but suffice it to say that I was unsuccessful. I did avoid burning down the house and I was able to reshape the prototype when it started to melt, so I thought I should stop while I was “ahead.” The other alternative for powering this device would be muscle wire, which you can read about here. Again, not something I have on hand. 😦
Would I recommend this learning experience? Absolutely. I learned a lot and had to encounter and push past some of the same barriers that students and other teachers would face. I can now discuss 3-D printing with a tiny bit of knowledge and have renewed confidence in my ability to learn new software (and hardware–did I mention that this was my first week alone on a Mac?) and use unfamiliar equipment.
CU Science Discovery also has summer camps, programs for schools, and community outreach–check them out!

Wow. Way cool, Angie. I wish I could have gone. Sorry Day 3 got so messed up by the snow. I did find out that the Denver Public Library has a 3D printer in the IDEAlab, and I’m looking into it to see if they have any sort of classes or instruction on that.
Our Pueblo library has 3-D printing too. Pretty fun option.
Really neat, I may sign up for that course.
Or check out that cafe in Dayton that cousin Derek mentions on my Facebook post… It was a really cool course.